
The guide to a long-lasting tan
This complete self tanning guide walks you through how to prepare your skin, how to apply self tan evenly, and how to make your tan last longer without fading patchy. You’ll also find helpful tools and tips that make the application process easier, whether you’re new to self tanning or want to improve your results.
A good self tan isn’t just about the product — preparation and application make all the difference. With the right steps, you can achieve a natural, streak-free glow without patchiness, uneven color, or clogged pores.
Step 1: Prepare Your Skin (This Makes the Biggest Difference)
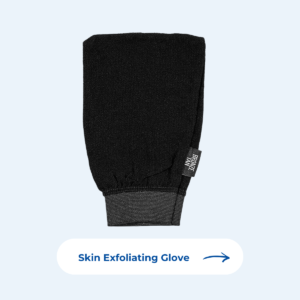
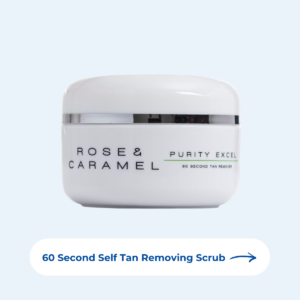
Prepping your skin properly helps self tan apply evenly and prevents patchy areas. Using an exfoliating mitt and scrub helps to prepare the skin by removing dry skin and old tan buildup. It removes dry patches and helps color develop evenly. By exfoliating anf using the right primer/lotion you will prevents darker knees, elbows and ankles.
What to do before self tan
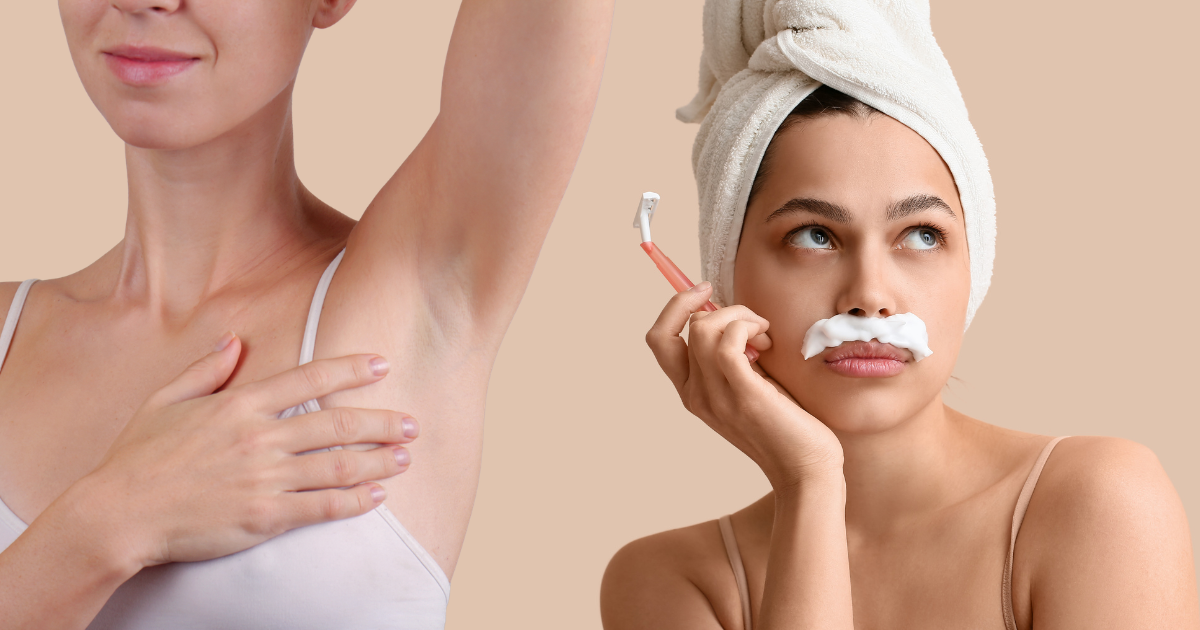
- Exfoliate 24 hours before application
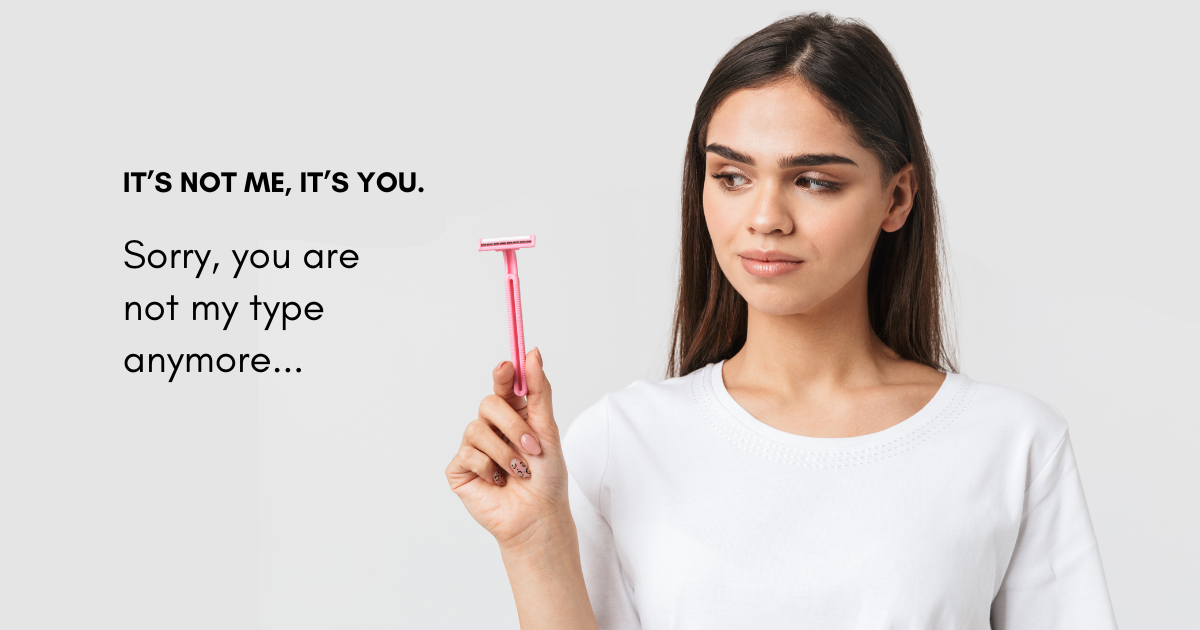
- Shave or wax at least 12–24 hours before
- Avoid heavy moisturizers right before applying
- Make sure skin is clean and dry

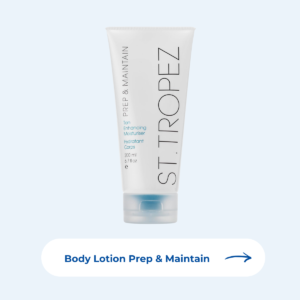
Step 2: Apply Moisturizer to Dry Areas Only & Avoid Orange
To prevents certain areas from absorbing too much color, use a good lotion. However, avoid applying thick moisturizer all over your body, as it can dilute the tan. Apply a small amount of lightweight moisturizer to:
- elbows
- knees
- ankles
- wrists
- hands
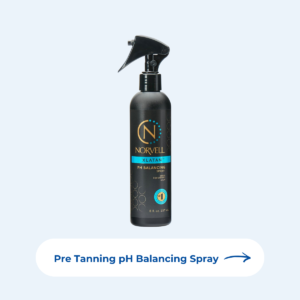
Eliminate The Orange
Turning orange is the most common concern when it comes to self tanning. To prevent that you can use Pre-Sunless XLATAN. Formulated to boost self tanning development and provide faster and longer-lasting results, this product assures optimal pH levels to provide natural looking, crave-worthy color.
Step 3: Apply Self Tan Evenly
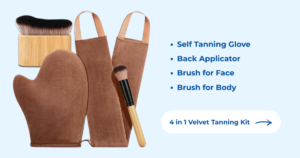
Using the right applicators can make a huge difference in how your self tan turns out. A tanning mitt helps distribute the product evenly, preventing streaks, patchiness, and stained hands — which is especially important if you want a smooth, natural-looking result. If you want a more flawless, professional finish, it’s worth using a full self tanning applicator kit. Different tools are designed for different areas of the body, making the application process easier and more precise.
A self tanning glove (mitt) is essential for applying product evenly on larger areas like legs, arms, and torso. For harder-to-reach areas like your back, a back applicator helps you apply self tan without missing spots or needing assistance.
For more detailed areas, tools like brushes can really elevate your results. A face brush allows you to apply self tan more lightly and evenly, helping to avoid clogged pores or buildup around the hairline. A body brush is perfect for blending tricky areas like hands, feet, wrists, and ankles, where self tan can easily look too dark or uneven.
Using a complete applicator kit not only makes the process easier, but also helps you achieve a more even, streak-free, and natural-looking glow that lasts longer.
Application tips
- Apply in circular motions
- Start with legs, then arms, then torso
- Use less product on hands and feet
- Blend carefully around wrists and ankles
- Use good applicators, here you’ll find the perfect applicator kit →
Step 4: Blend Smaller Areas
For hands, feet, and face, a blending brush helps create a more natural finish. If you don’t need the whole kit, here’s a soft blending brush – ideal for applying self tan on hands, feet and face.
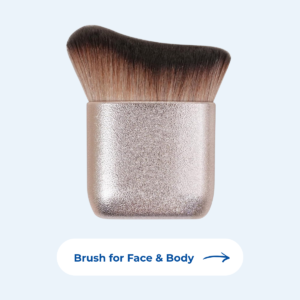
This helps:
- avoid harsh lines
- blend fingers and toes
- soften edges
Step 5: Let It Develop
After applying:
- Wait at least 5–10 minutes before dressing
- Wear loose clothing
- Avoid sweating or showering for 6–8 hours
- Avoid tight straps
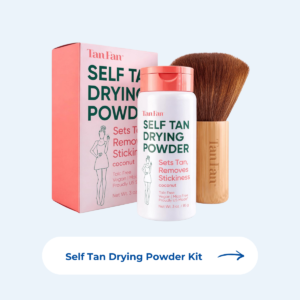
If you want to speed up the drying process and avoid that sticky feeling after applying self tan, a setting powder like the Tan Fan Self Tan Drying Powder can be a game changer. It helps absorb excess moisture, reduces tackiness, and allows you to get dressed more comfortably without worrying about the product transferring onto clothes or sheets. The lightweight, talc-free formula is designed to leave the skin feeling smooth and dry, while the included soft body brush makes it easy to apply evenly. This is especially helpful in warmer climates or if you tend to feel sticky while your self tan develops.
Step 6: Maintain Your Glow
To make your self tan last longer:
- Moisturize daily
- Avoid harsh exfoliation
- Pat skin dry after showering
- Reapply gradual tan every few days
Best Types of Self Tan for a Natural Result
For the most natural finish, choose:
- lightweight tanning waters
- tanning drops
- gradual self tan moisturizers
- non-comedogenic formulas
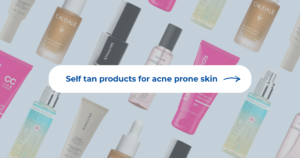
If you have acne-prone skin, I’ve shared safer picks here:
Want trending viral picks?
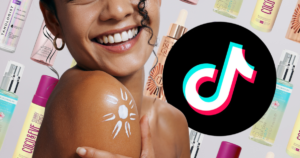
→ TikTok Trending Self Tan Products
Common Self Tan Mistakes to Avoid
- Applying on dry skin
- Using too much product
- Skipping exfoliation
- Not blending hands and feet
- Wearing tight clothes immediately
Quick Self Tan Routine (Step-by-Step)
- Exfoliate the day before
- Shave or wax
- Apply moisturizer to dry areas
- Apply self tan with mitt
- Blend with brush
- Let develop
- Moisturize daily
Final Tip
Less product = more natural glow.
You can always build the color, but removing excess tan is harder.

Leave a Reply